Table of Contents
How to solve a Problem
Log into the Atis portal
In the left pane, click on Manager case > Console.

1. View problem source and detailed data
In the list of assigned cases, select a problem record and click on  to see the detailed data of the problem.

- Click on
 to Owner,Handler and User of the problem record:
Permissions: List view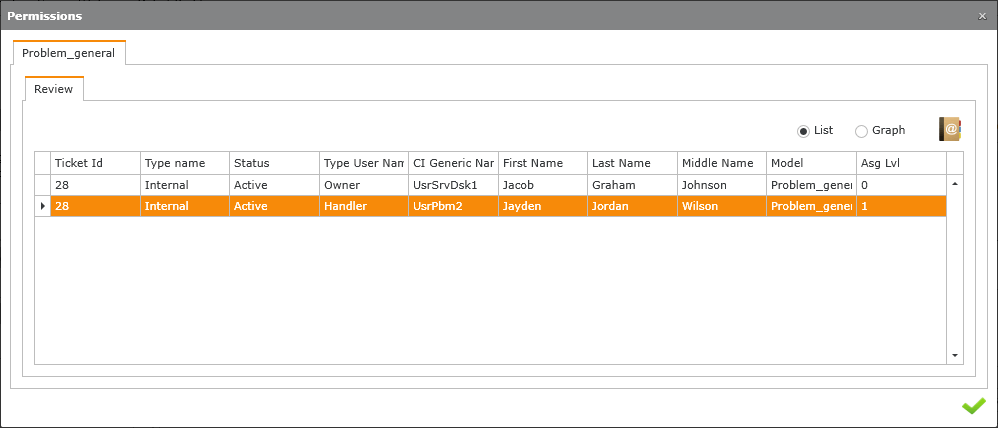
Permissions: Graph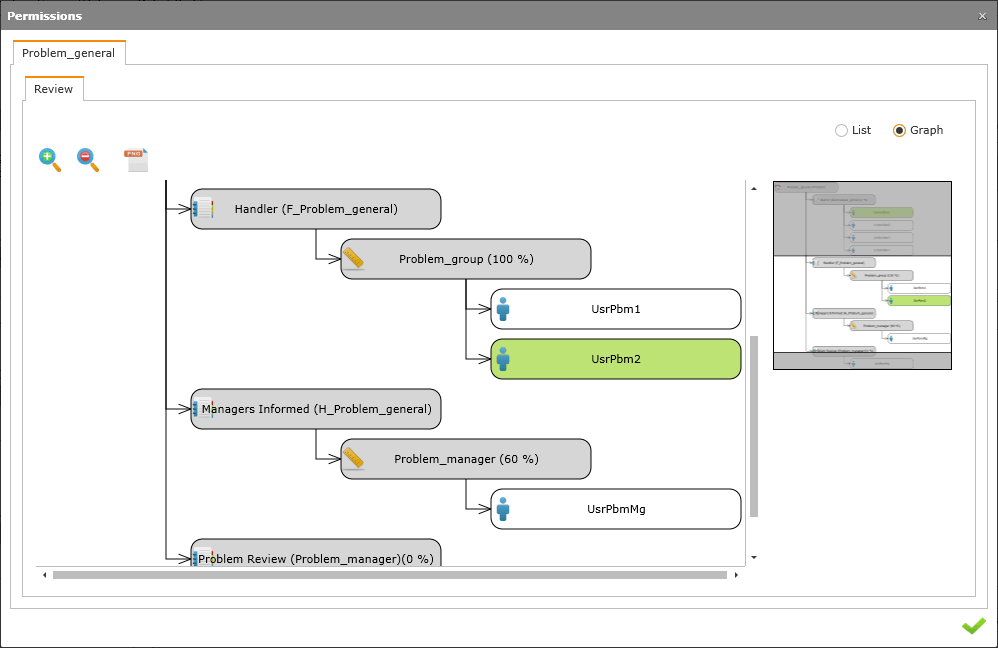
- Click on
 to see the log of actions
- In the permissions screen, click on
 to see contact data of the user:


2. To start attention
Click on Handler button, the attention window will open, below there's a description of the default fields that appear on the window:

Add attention actions
In the left pane, click on  , in the popup screen type the actions and click on
  to save.

To view the action log, click on 

Guide
Service support instructions to help solving a case faster, these instructions are defined in the model configuration.
See: How to create a model
Click on  to graph model steps:
Send messages
In the left pane, click on  , in the popup screen select the users and type the message to send

Users and owner can send feedback as well, click on  to see if there're new messages.
3. Matrix of Activities
See: How to create a model
IT Help Center is based on activities/attention models. In those, the flow, attention groups, times, escalations, possible returns among others are defined. After a record is created, the tool decides which model will use according to defined rules. Then, the model will rule which group will work in the record. Every while, the tool will check the time that has passed and decide if an escalation is necessary.
Here you can add new related activities/cases:
See: Create a RFC from a problem record
4. Attention tools
View case details
Click on  to see case details
View Workaround
Click on  to see related workarounds.

- Click on
 to search and add workarounds.
 - Click on
 to view selected workarounds.

View user contact info
Click on  to see user contact data.
- When you pass the mouse over the icon, you'll be able to see user name and prefered way of contact:

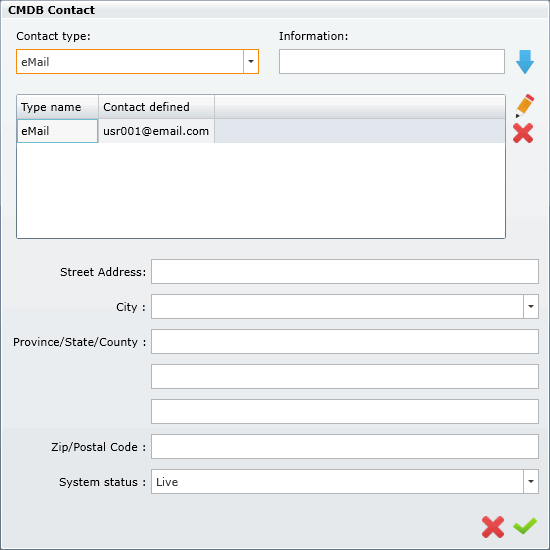
- When you click on icon, a popup screen allows you to add/edit contact details:
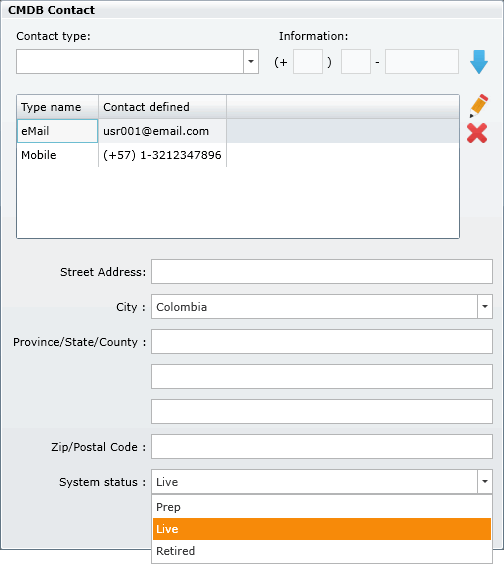
Contact type Select the notice type (mobile, phone, email) Information Type according to notice type: mobile/phone/email and click  to add.
Address Other contact details like Address, country, county/state and zipcode System status Select system status:
Prep: Pending for aprobation
Live: Active
Retired: Outdated info


Change Category
An administrator can change the category before closing the problem record.
Click on  to change Category.
- Type reason to change category.
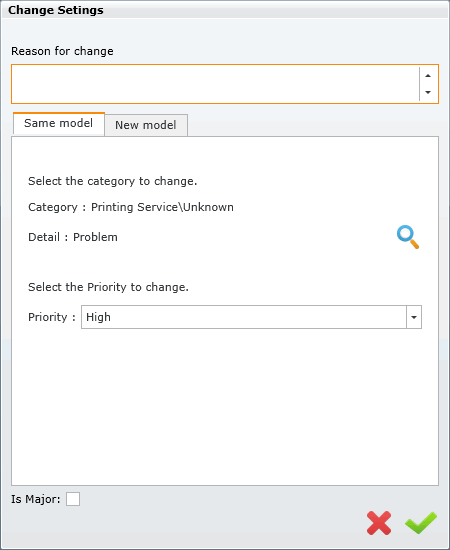
- Click on
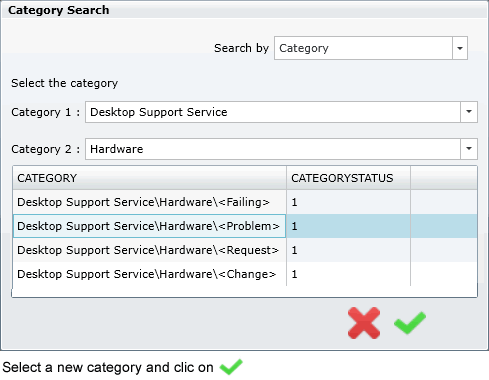
 to categorize the case, search the category that best describes the issue.


Change Priority
An administrator can change the priority value before closing the problem record.
Click on to change Priority.
- Type reason to change priority.
- Select a new Priority value from the drop-down list.
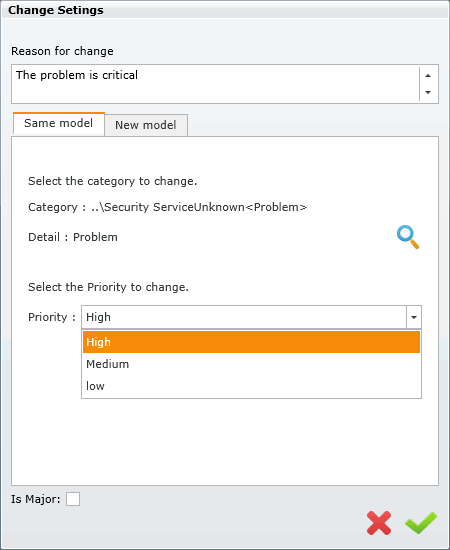
You can also click on Is Major checkbox
- Click on
 to save changes.

Functional Escalation
Click on 
In the popup screen you can select the escalation type and add a reason to escalate the case:
Go to the next user: The case will be automatically assigned to the next administrator available in the same level.
Go to the next level: The case will be automatically assigned to an administrator available in the upper level.
Direct Assignation: Select an administrator from the drop-down list to assign the case.

Click on to escalate
Hierarchic Escalation
Click on 
In the popup screen, you can select escalation type and add a reason to escalate the case, active options:
Go to the next level: The case will be automatically assigned to an administrator available in the upper level.
Direct Assignation: Select an administrator from the drop-down list to assign the case.

Click on to escalate
Change Status
Click on  In the popup screen select a new state and add a reason:

When you pass the mouse over the icon, it'll show the current status
CI Editor
Click on  icon. In the popup screen you can review or delete CIs already related or add new CIs

Add CIs: click on  a popup screen allows you to browse for CIs.
Edit CI description: Select CI and click on  to edit description and click on to save.
Delete CI: Select CI and click on 
View CI: Select CI and click on 
A popup screen allows you to view information and relations of the CI
See:
How to view and edit CIs
Attachment Editor
Click on  In the popup screen you can review or delete attachments already related, or add new files

Add File: Click on  a popup screen allows you to browse your computer for the files to attach. You can include a description for each attached file.

Click on  to find the file, add description1) and click on to save.
Edit description: Select the attachment and click on  to edit file description and click on to save.
Delete File: Select attachment and click on 
Download File: Select attachment and click on 
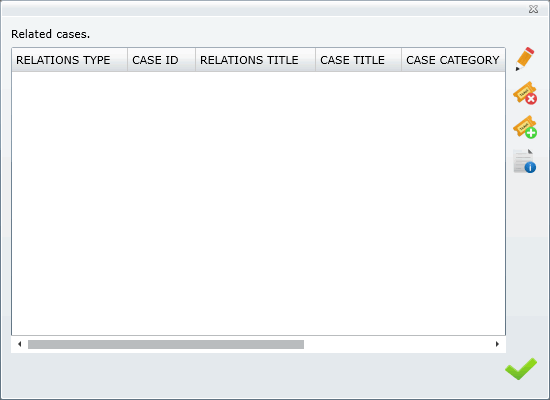
5. Add/Edit related cases
Click on  to add/edit related cases to the problem:
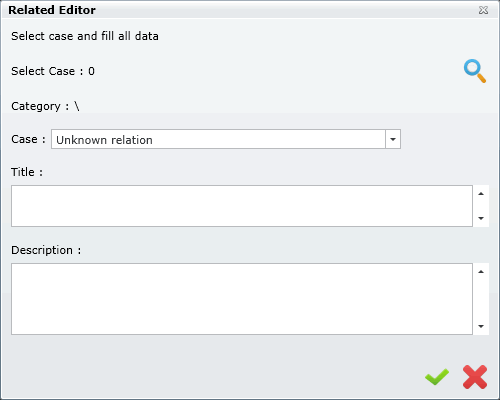
- When you click on icon, a popup screen allows you to add/edit related cases:
- Click on
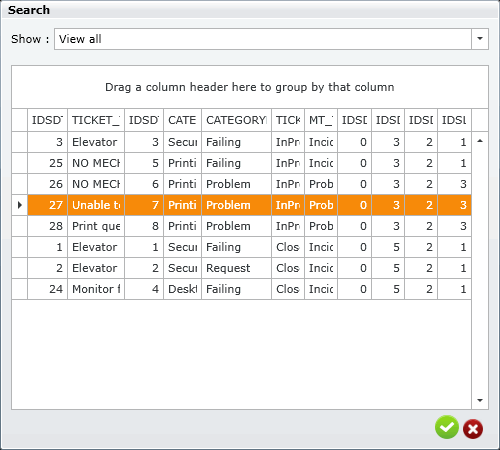
 to search and add cases:
Click on to search cases:
- Once you've selected a case to relate, select the relation type in the dropdown list: Unknown relation, This case is part of or This case is the result of
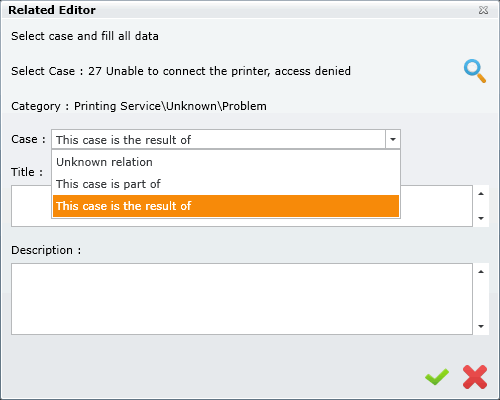
- Finally, add title and description:

Click on to save.

 Click on icon to delete relation
 Click on icon to edit relation
 Click on icon to view the info of the related case


6. Add/Edit parent-child relations
Add Parent Relations
Click on  In the popup screen you can search in a list of existing cases, select the case that will be the Parent

Add Child Relations
Click on  In the popup screen you can search in a list of existing cases, select the case(s) that will be the Child/Children

Graph relations
Click on to draw the graphic.

7. Change step
Modifying model configuration and step settings requires access to system configuration, therefore, you should have administrative privileges.
See: How to create a model
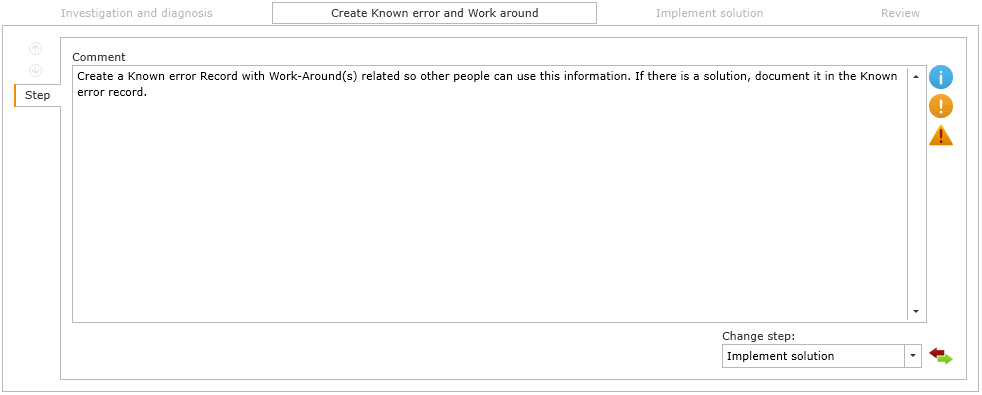
When an administrator has included all activities and actions for the current step, can set the next step. In the right corner bottom, if possible, choose the next step2) from the drop-down list and click on icon 
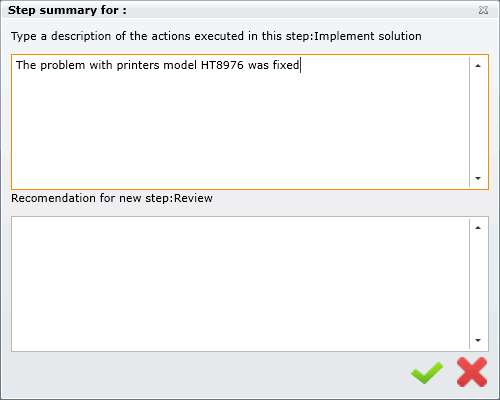
Each time there's a step change, the admnistrator has to include a reason and optionally a recomendation for the next step.
- To change from Investigation and Diagnosis to Create Knownerror and Workaround
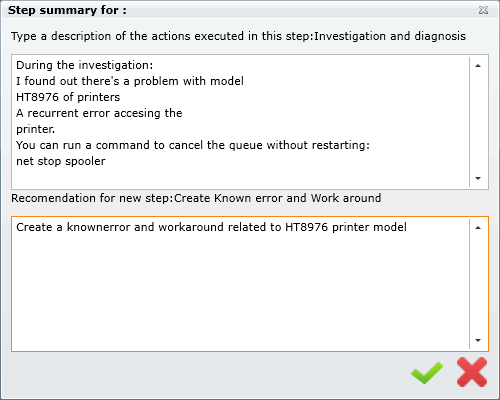
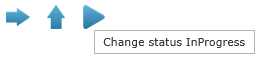
While the problem is in the Investigation and Diagnosis and Create Knownerror and Workaround steps its status is InProgress:
See:
Create Knownerrors and Workarounds
- To change from Create Knownerror and Workaround to Implement Solution
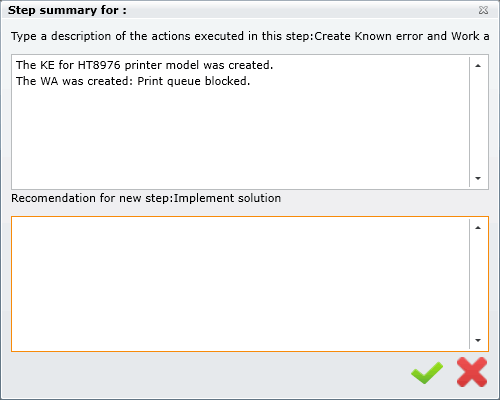
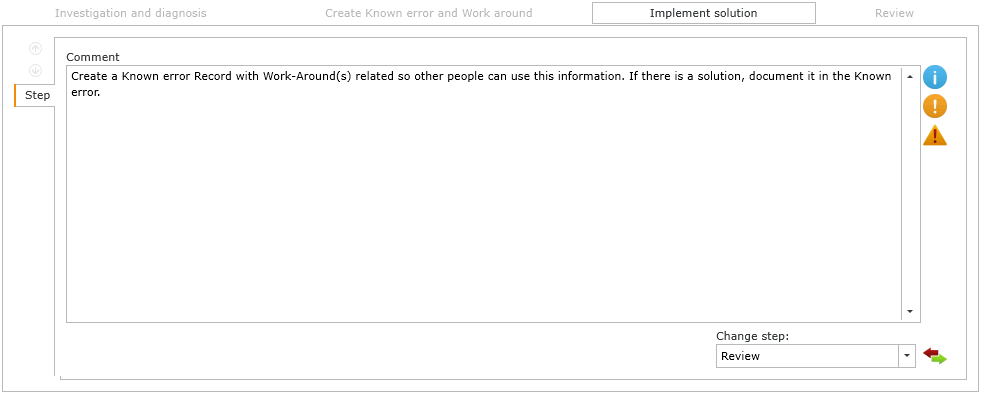
When there's a solution the status can change to Resolved.
To configure the status of the step: Set case status
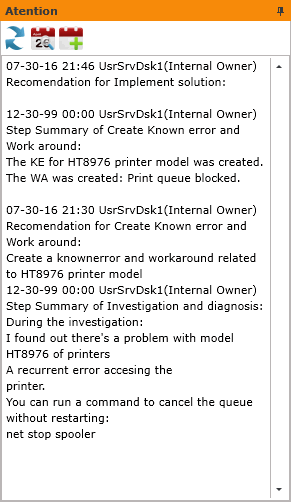
- Actions and activities are registered in the action log, see Attention pane:


8. Closing case
Modifying model configuration and step settings requires access to system configuration, therefore, you should have administrative privileges.
See: How to create a model
- To change the step to Incident Review, first the handler of the case must type the reason and optionally a recomendation for the review step:
- According to the review, the case result can be changed to Resolved, Unresolved, Too Expensive or Cancelled
Select from the dropdown list:
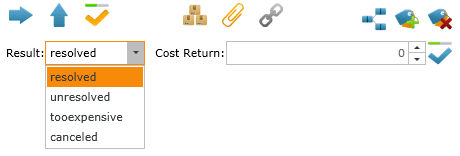
Click on to save result.
See:
Models:Result values
Models:Set case status
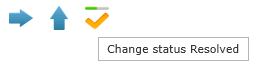
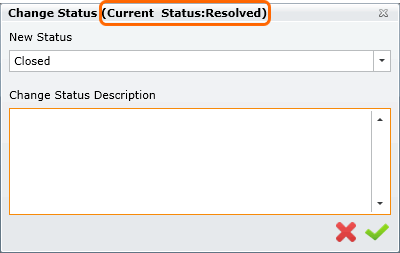
- Click on
 to change status:
When the administrator clicks on there will be a message asking him to verify if the incident data is correct.
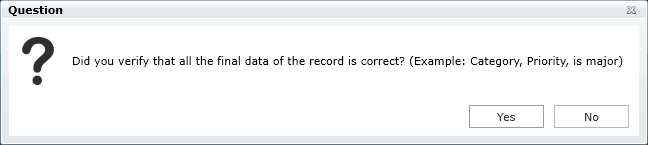
If the administrator clicks NO, then can change any detail of the case:
See:
Change Category
Change Priority
Set case as Major
If the administrator clicks yes, the status is changed to Closed. :